
If you are after a little activity project that is super easy, quick and cheap and that will occupy your child for hours on end while you can get on with other things or have some time to relax (whilst still keeping an eye on them, of course), look no further. We give you – the mud kitchen.
In our experience of over six years of working in outdoor play and many more years of parenting, the mud kitchen is the clear winner of the prize of the most popular outdoor activity. It seems to be loved by everyone – from little toddlers up to pre-teens and boys and girls in equal measures.
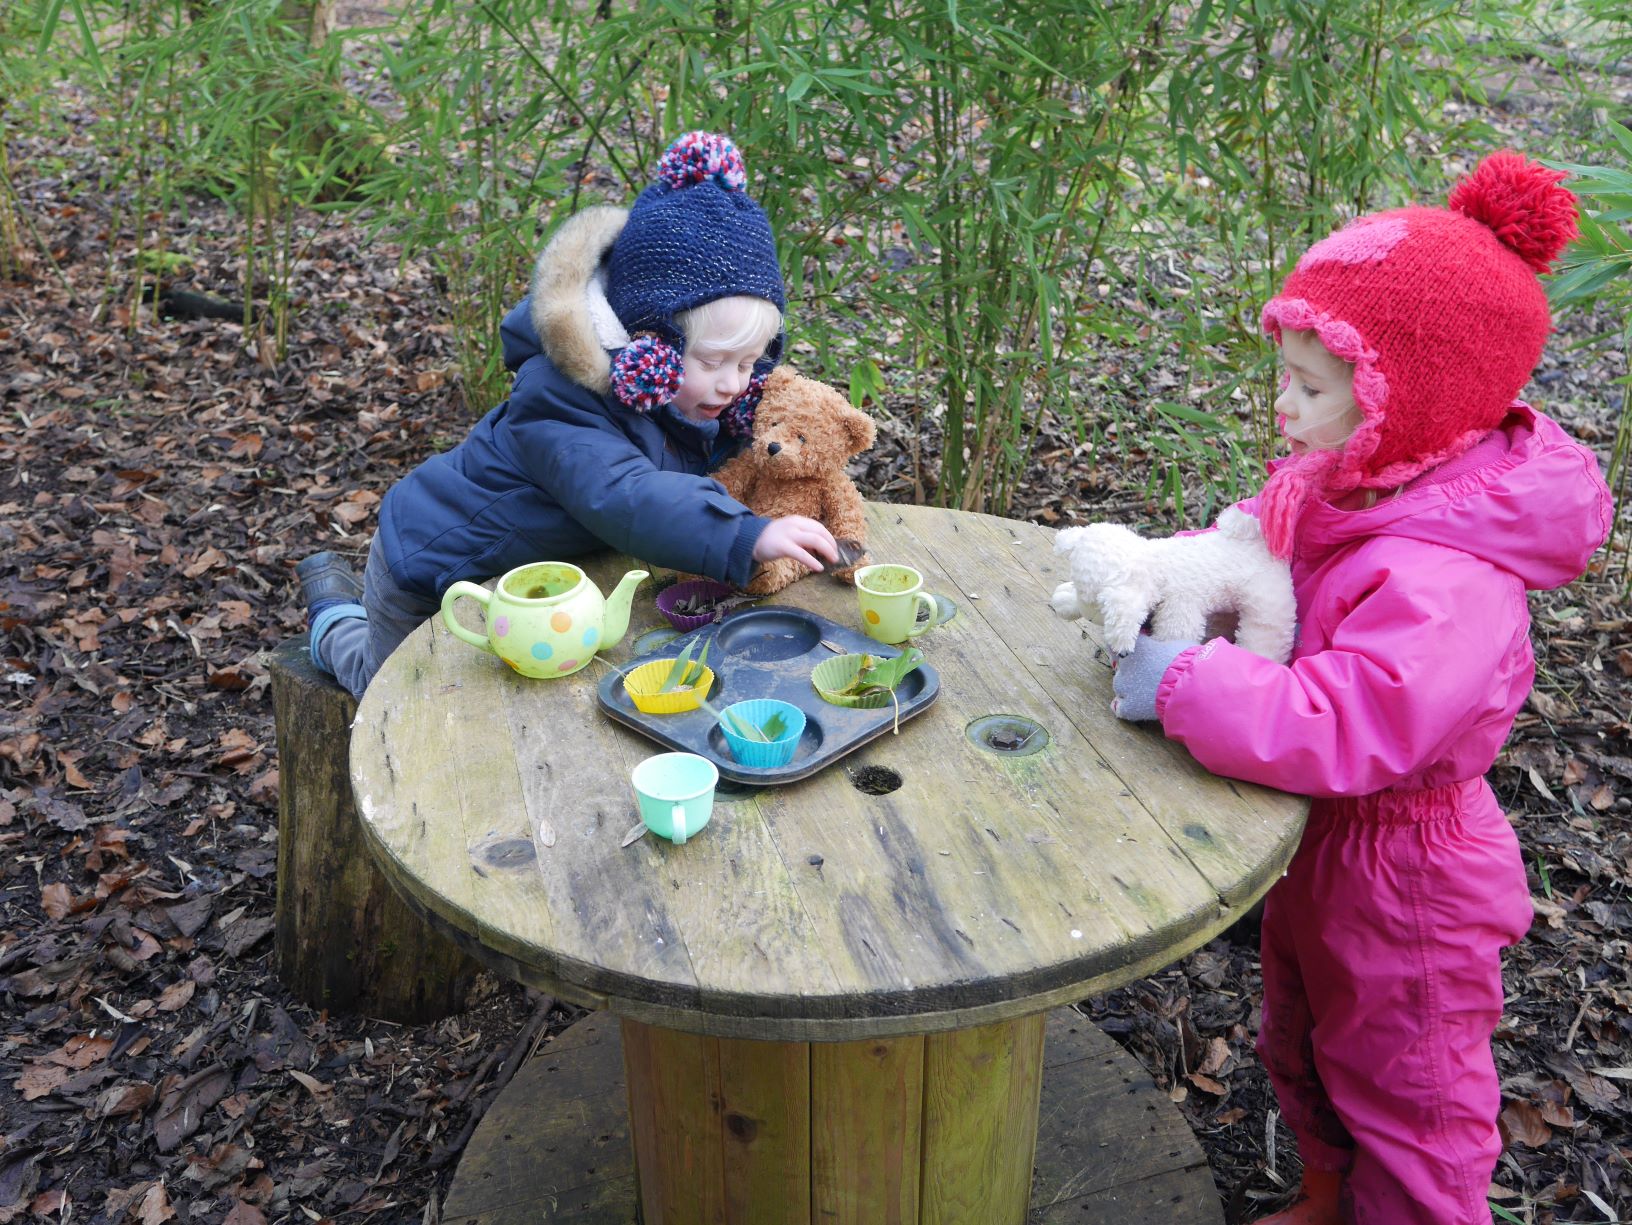
The possibilities of play are sheer endless – there is finding ingredients, mixing, pouring, manipulating… There are cakes to make, fish and chips, tea, puddings, soups… It can be a home kitchen, shop, restaurant, posh tearoom…
The great news is that you don’t need to spend hundreds of pounds on anything fancy – you can, of course, if you want to, there are plenty of elaborate and fancy ready-made mud kitchens to buy. You also don’t need to spend hours honing your DIY skills to build one, although, again, you can of course do so if that’s what you want; all you need is some pallets or wood, the right tools and a plan and away you go.
Simple is best
Whenever possible, we prefer simple. So, here are our suggestions:
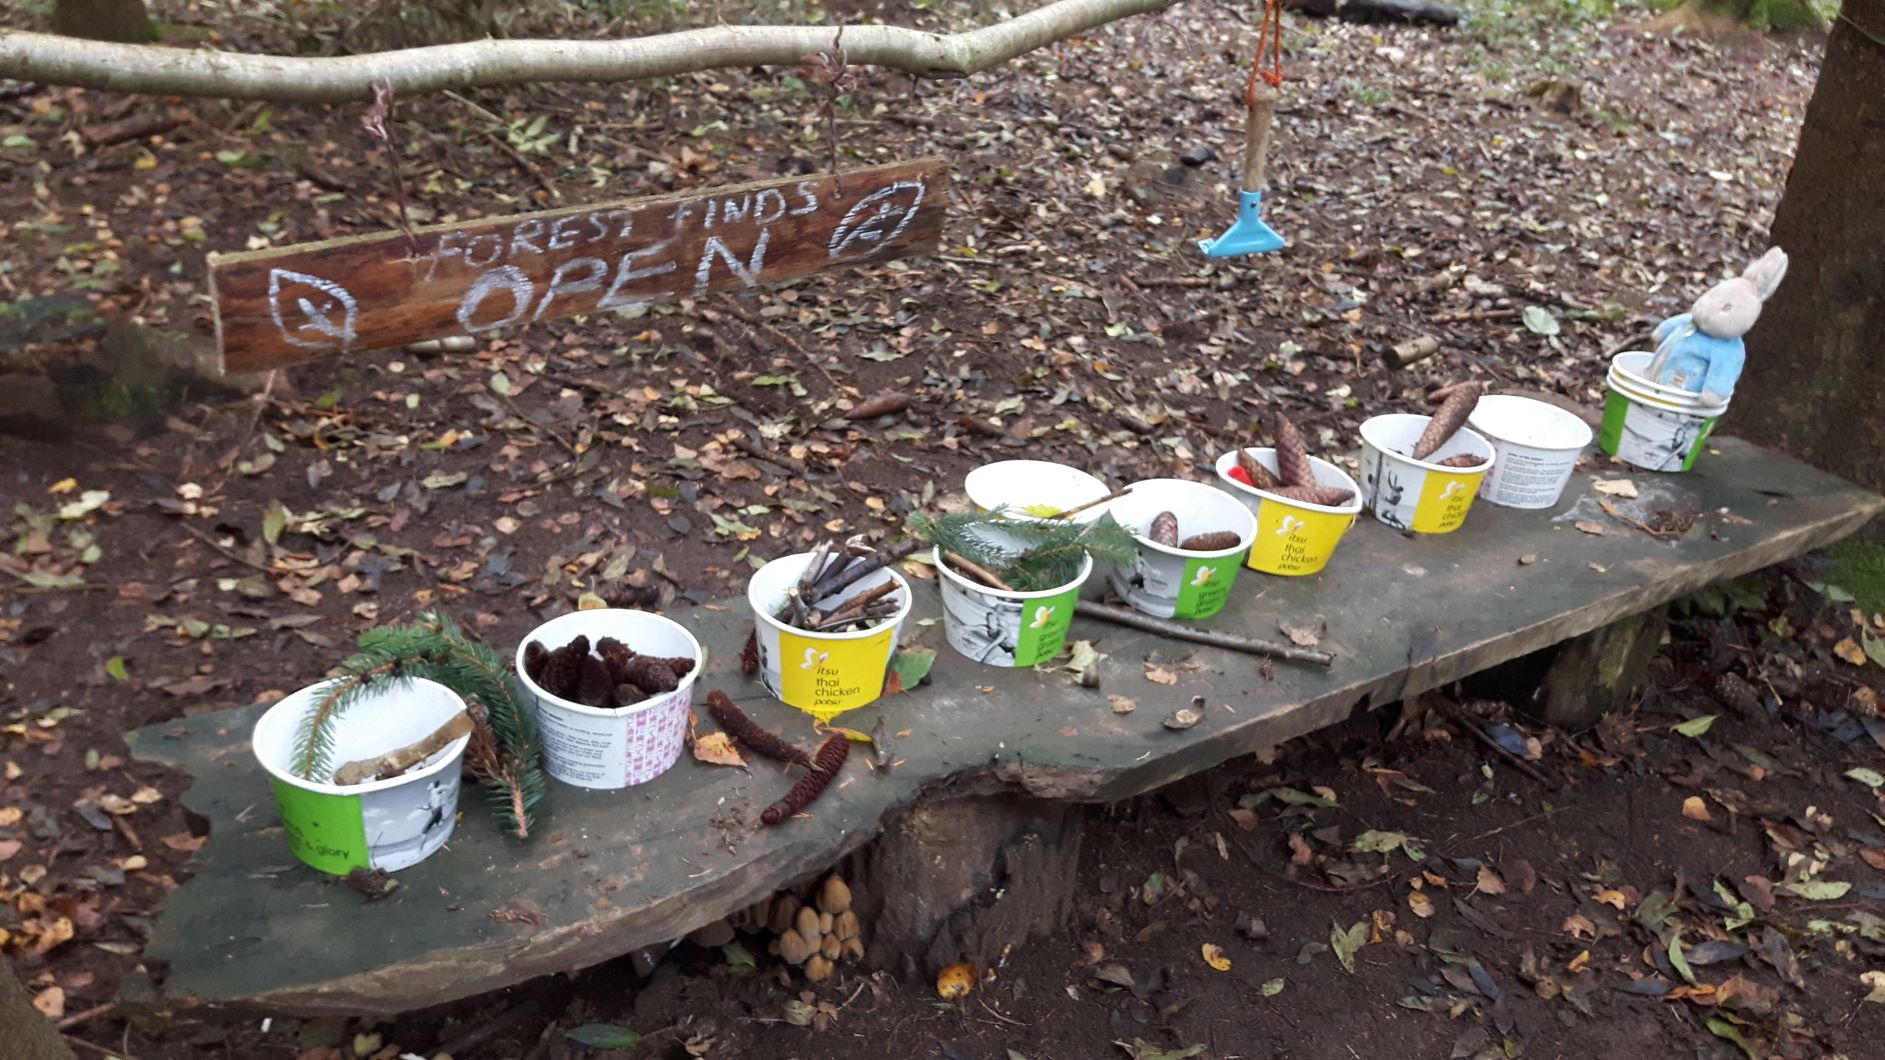
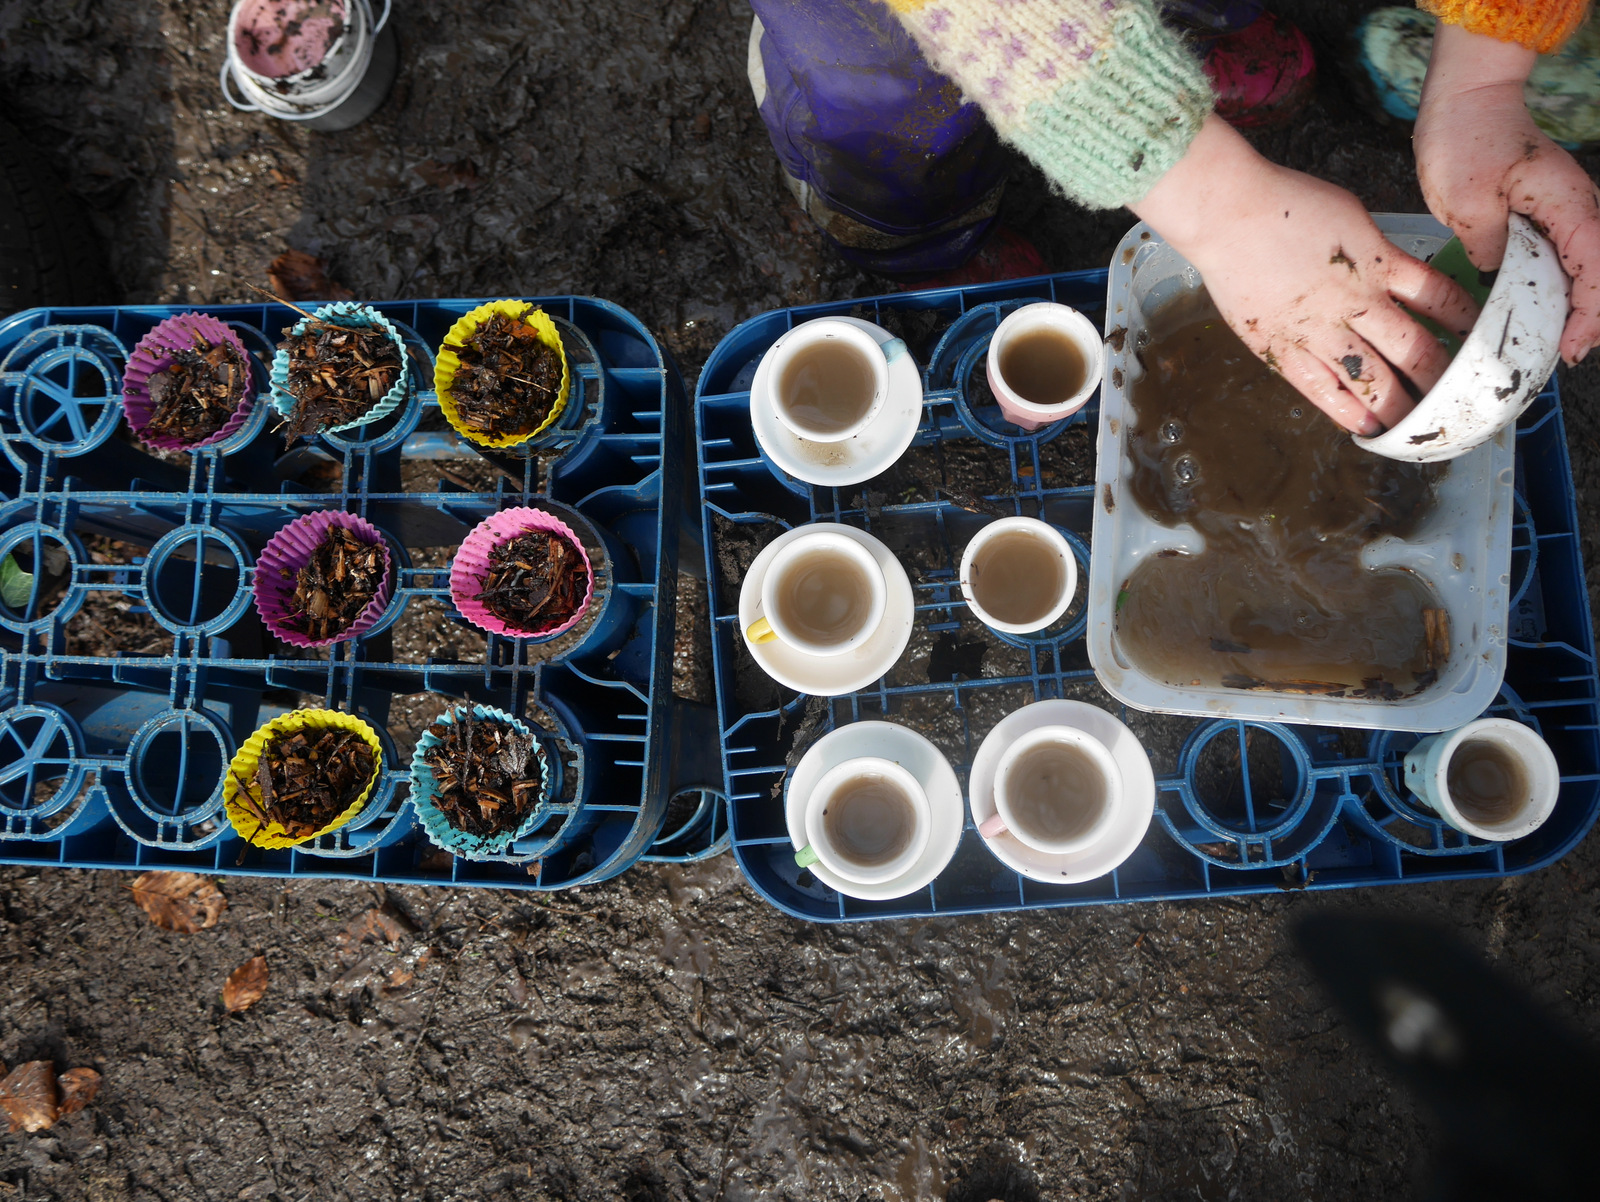
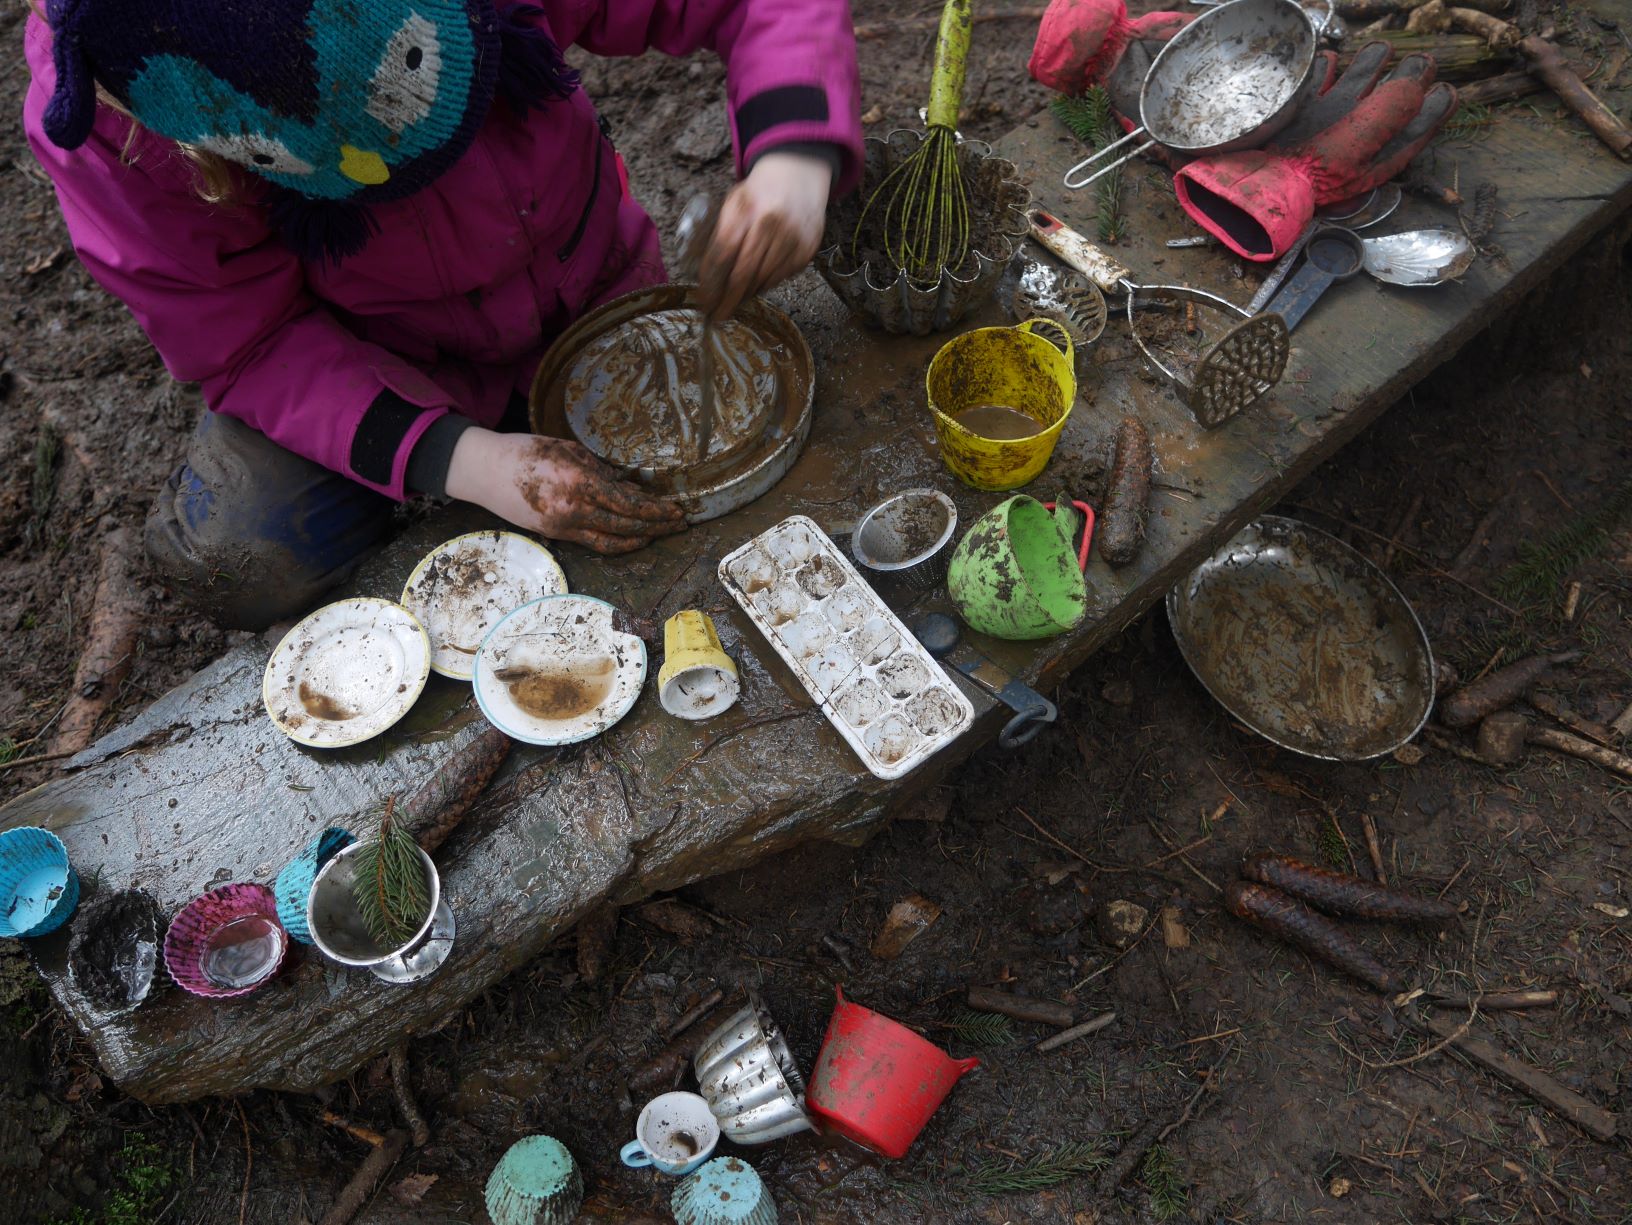
- Start with some containers, e.g. clean yogurt pots, an old saucepan or some old silicone cupcake cases. If that’s all you have – perfect! Just put these out in the garden and see what your child comes up with.
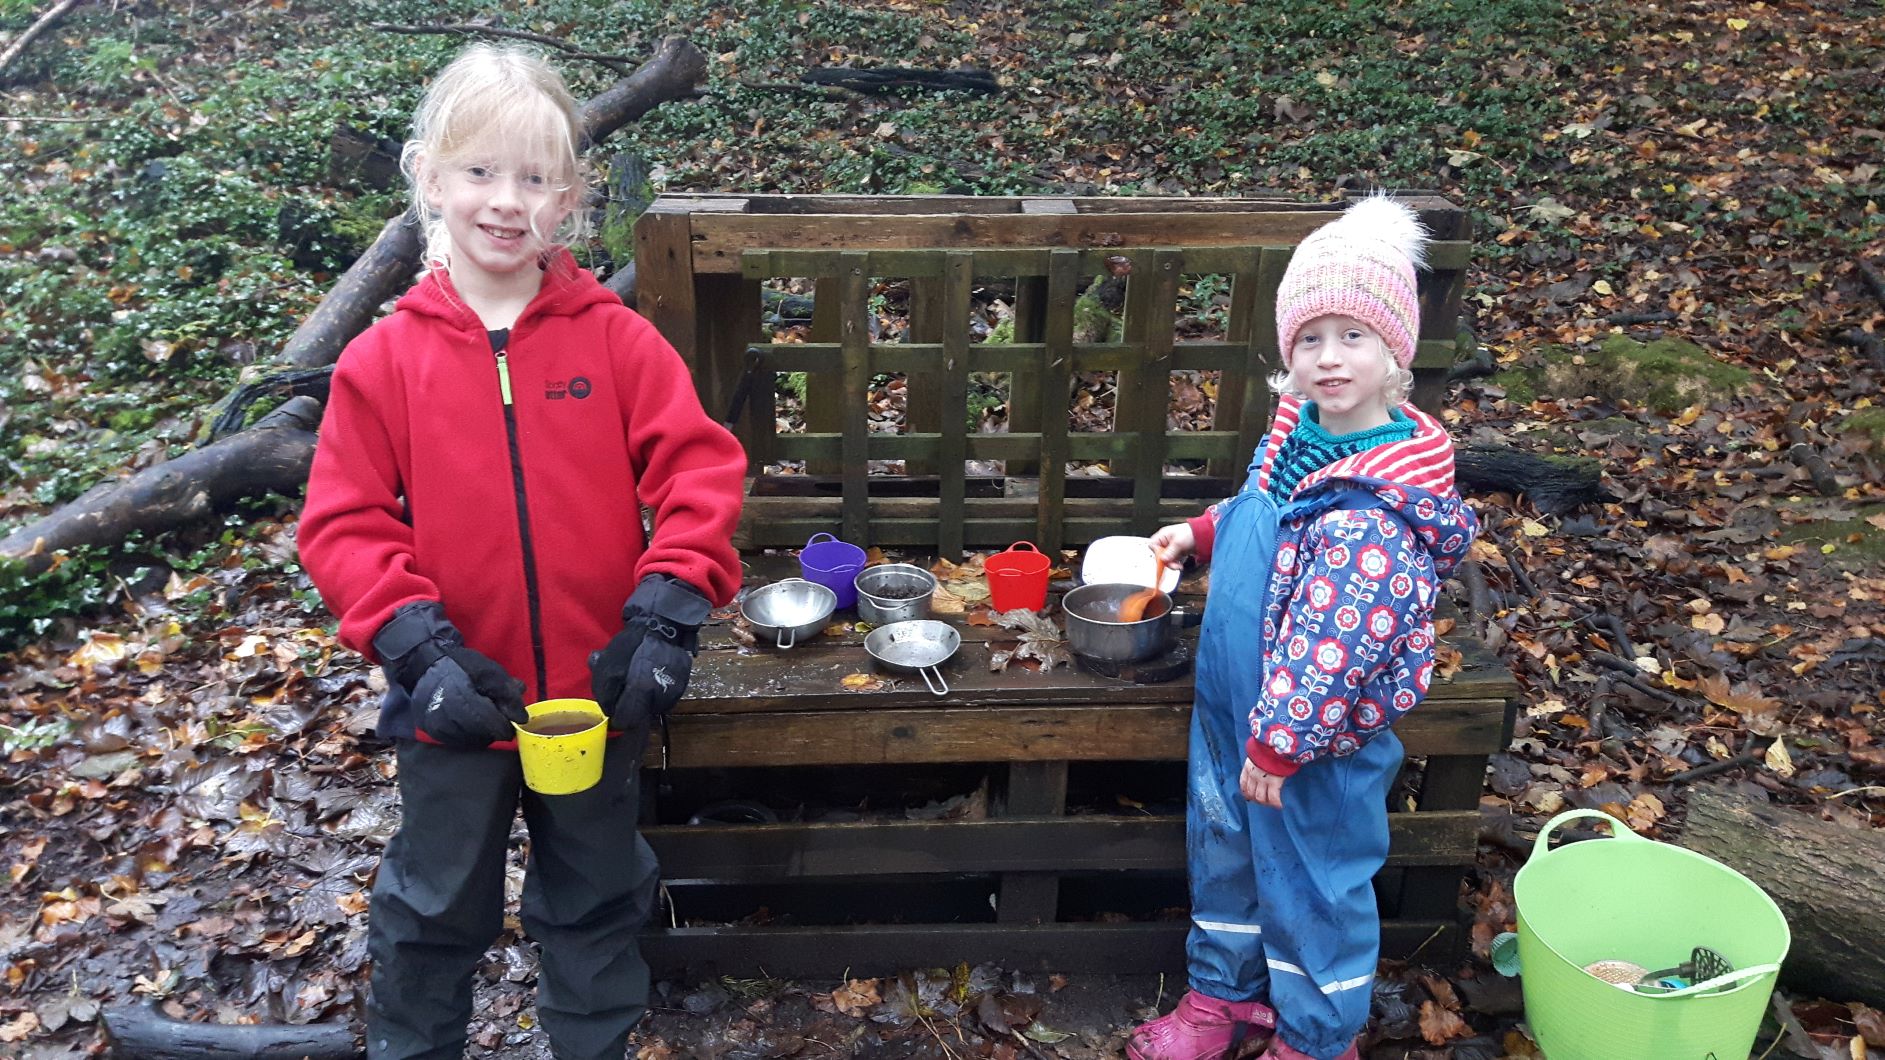
- Any kind of utensil will add value – small spoons, cooking spoons, whisks… Just remember that once they are used for mud play, they shouldn’t go back into the kitchen.
- Water adds a whole new dimension to play. If you have a water canister, great, but a bucket or bowl will do as well. Put a ladle with it and they’ll be away.
- We haven’t even spoken about mud yet – you can create a little digging area where your child can help themselves to mud. It will be messy!
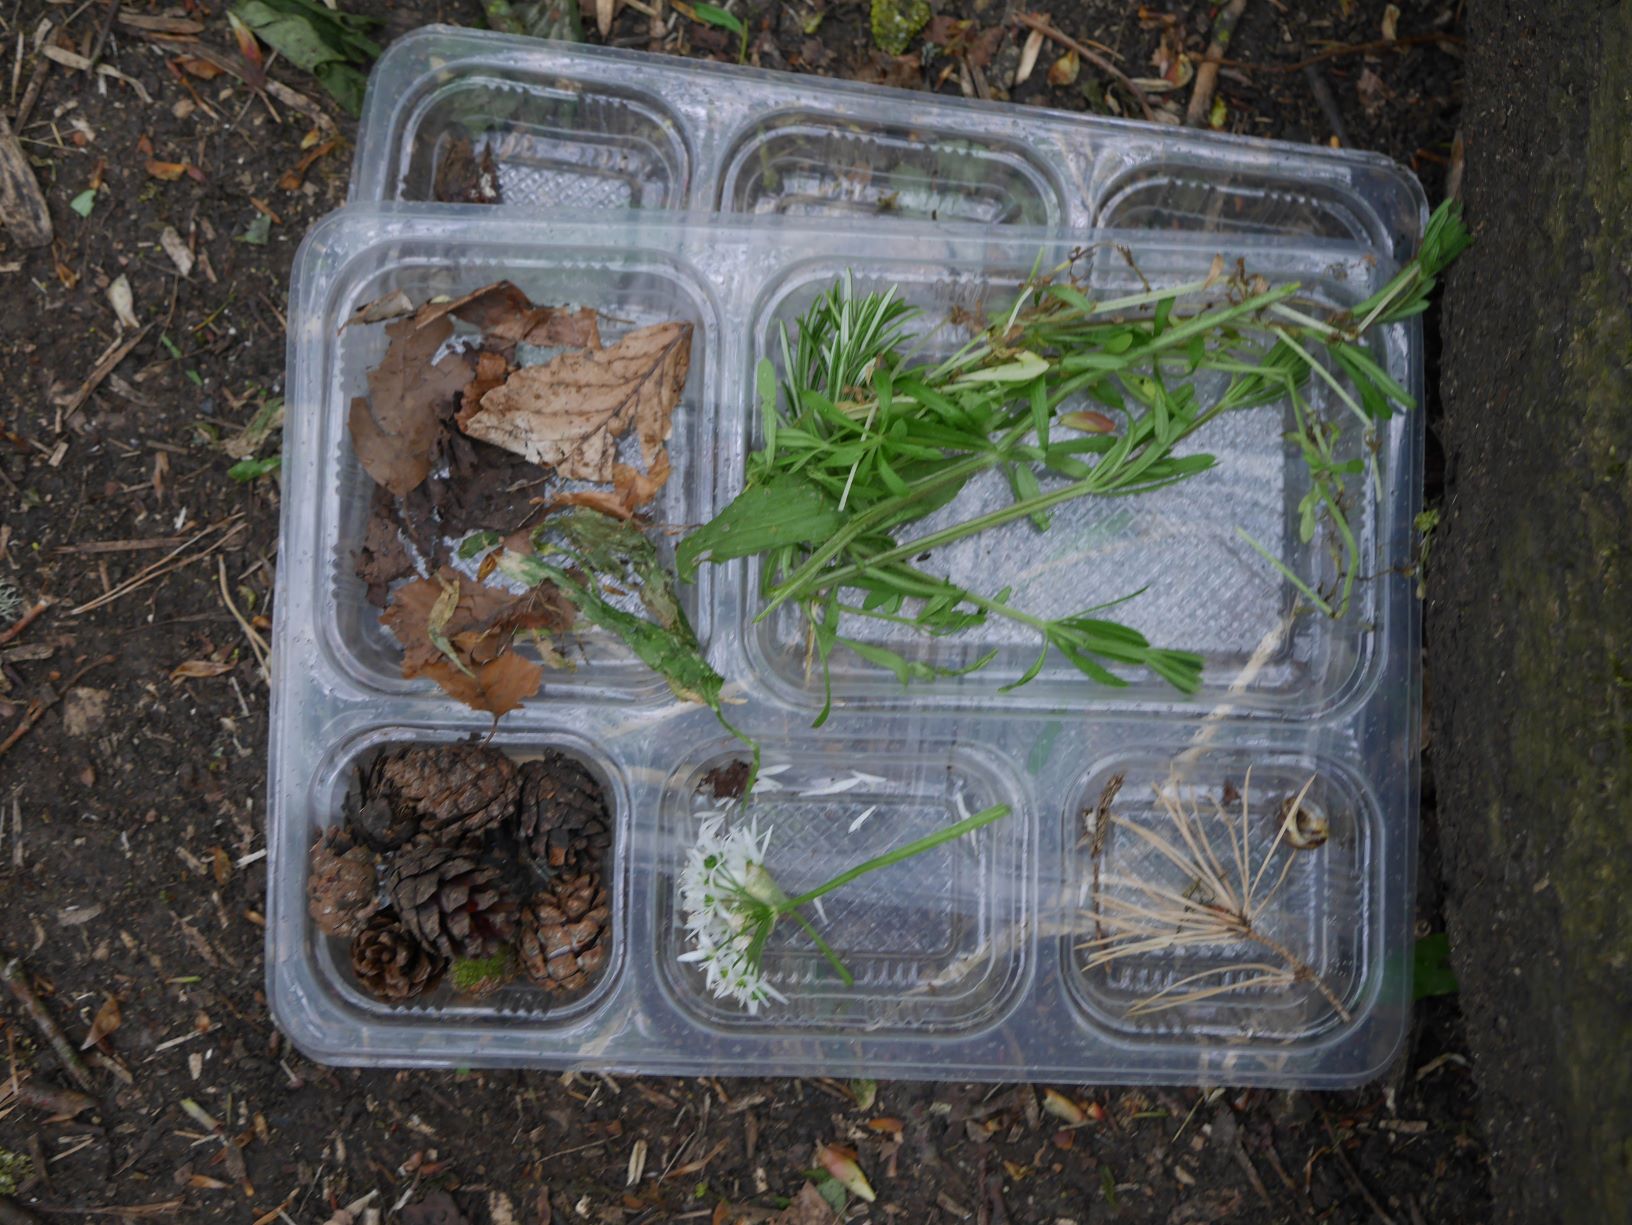
- If there aren’t a lot of natural materials in your garden, collect some on your next walk – anything goes that isn’t poisonous (cones, sticks, leaves, stones…).
- If you want to create a dedicated mud kitchen area, just use a plank and prop it up with bricks or logs. You can draw circles for hob rings and dials, or cut them out of logs and screw them on.
- If you want to go all out, have a look on the internet for ideas and plans for something more sophisticated although you will find that the above will most probably give as much play value.
Safety
There are a couple of points to remember in regards to safety:
- Check your garden for poisonous plants. Depending on the age of your child, the likelihood of them putting things in their mouth and the toxicity of the plants, site the mud kitchen away from them, talk to your child about ‘no picky, no licky’ (‘we don’t put anything we find on the floor or anything we pick from a plant into our mouth as it can be germy or poisonous and it can make us ill’), or even remove the plant.
- Recent research has found that certain microbes in the soil act like anti-depressants, so getting your hands dirty is certainly good for you (see https://www.gardeningknowhow.com/garden-how-to/soil-fertilizers/antidepressant-microbes-soil.htm). However, it is still important to wash hands properly after the play and especially before eating, as soil can also have some nasty bacteria and other things (poo!) in them.
- Which leads us onto – check the digging area for any cat or other poo.
- Make sure any cuts or other wounds are covered over with a plaster.
Over to you
We hope you like our mud kitchen ideas. If you do have a mud kitchen at home already or are making one now, however simple or sophisticated, please do send us a picture via the comment section at the bottom, Facebook or directly to our phone – we would love to see them! Lets build a virtual community to support each other!
All the best,
Britta and Carrie


1 thought on “The magnificent mud kitchen”