Making a dream catcher is a wonderful little craft project, easy to accomplish, meditative and lovely to look at. And of course, if hung over the bed, it will catch bad dreams in the web, to be burnt by the sun at dawn, while good dreams are directed through the hole in the middle and down the feathers to the person sleeping underneath.
Dream catchers are said to have originated with the Ojibwe or the Lakota nations in North America. The traditional Ojibwe story goes like this:
Asibikaashi, the Spider Women, looked after all people and creatures. She visited babies and children and weaved a web by their beds so that evil would be caught in it before it could reach them. When the Ojibwe people dispersed across the land it was increasingly difficult for her to visit everyone, so she instructed mothers, sisters and grandmothers to weave the webs and hang them above babies’ cribs. The willow hoop represents the sun; eight points of contact between the thread and the hoop are the eight legs of the spider.
For the Lakota, the original creator was also a spider, Iktomi, who was a trickster and teacher of wisdom. He appeared in front of a wise old man on top of a mountain, made a willow hoop and revealed to the man the cycle of life and that every ending is a new beginning. He wove a web into the ring which would help the people achieve their goals and visions – good ideas get caught in it while bad ones go straight through the hole in the middle (so, the reverse to the Ojibwe where the good ones get caught there).
How to make your dream catcher
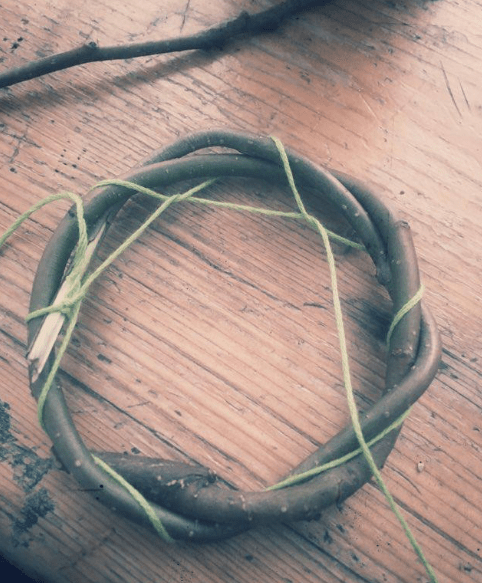
- Select a thin flexible shoot between 60 and 80cm. Willow is by far the most flexible and traditionally the only material used for frames in children’s dream catchers, but mine is made from alder shoots. You can also use hazel tops/shoots.
- Twist into a circle and wrap ends in. Trim off excess.
- Tie thread/wool on where end of shoots over lap.
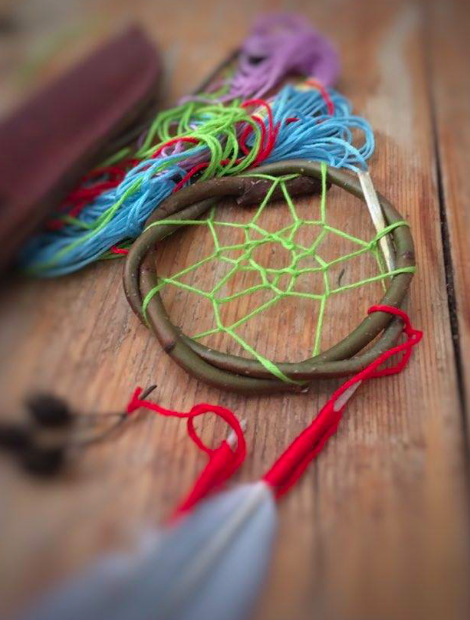
- Wrap thread loosely around circle a number of times.
- When you arrive back at starting point tuck thread this time through each of previous loops and continue around circle.
- Repeat this process, each time tucking in to the previous. You will find a pattern emerging.
- Continue until your circle is so small you cannot work any smaller and tie off carefully.
TIPS
- use the whipping technique explained in this post to attach thread to any feathers or other treasures to the dream catcher
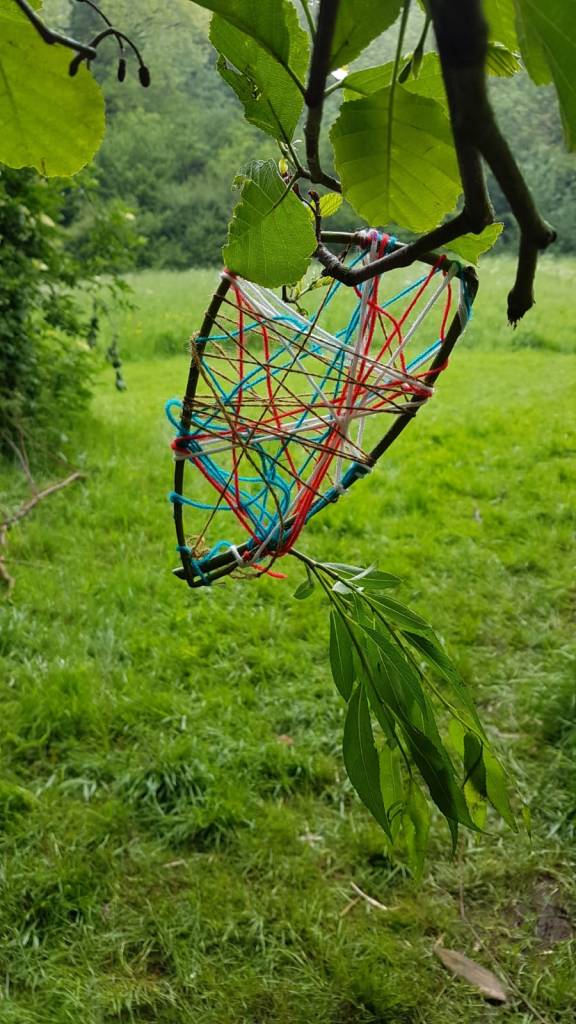
- If it just takes your fancy to wind around the catcher in any fashion do just that! below are some lovely examples of catchers made by children in holiday clubs